Hello everybody, I hope you’re having an amazing day today. Today, I will show you a way to make a special dish, hyderabadi mutton murgh. One of my favorites. This time, I am going to make it a bit unique. This will be really delicious.
Hyderabadi Green Chicken is a famous recipe of Hyderabad made during marriages and Functions. It is made using various spice, yogurt and a paste of roasted. Dum Ka Murgh recipe or Hyderabadi Lagan Ka Murgh is a famous Hyderabadi nawabi dish prepared in every Hyderabadi kitchen.
Hyderabadi mutton Murgh is one of the most favored of recent trending meals on earth. It is enjoyed by millions every day. It is easy, it’s quick, it tastes yummy. Hyderabadi mutton Murgh is something which I’ve loved my entire life. They’re fine and they look fantastic.
Recipe of Hyderabadi mutton Murgh
To get started with this particular recipe, we must first prepare a few ingredients. You can have hyderabadi mutton murgh using 14 ingredients and 7 steps. Here is how you can achieve that.
Ingredients
The ingredients needed to make Hyderabadi mutton Murgh:
- Take 1/2 kg Fresh Mutton
- Make ready 1 Onion medium sized
- Make ready 1 teaspoon Black pepper powder
- Make ready 1 teaspoon Salt
- Make ready 3-4 Green chillies
- Prepare 20 Kaju / cashews around
- Take 2 tablespoons Oil
- Make ready 1 tablespoon ghee
- Get handful coriander leaves
- Make ready 2 tablespoons Curd
- Get 1 Lemon for seasoning
- Make ready 1 teaspoon Ginger garlic paste
- Get 1 stick cinnamon
- Take 3-4 Cardamoms
It gets it hyderbadi flavour from the saffron and poppy seeds. Hyderabadi Dum ka Murgh Salan-Hyderabadi Lagan ka Murgh-Dum Chicken Curry. The chicken is cooked slowly without letting the steam escape under "Dum" in a wide. आसानी से बनाये घरपे हैदराबादी हलीम । Dear Friends presenting KARACHI's most favorite KAALI MIRCH walay MURGH CHOLAY GHOSIA RESTAURANT Style.
Instructions
Steps to make Hyderabadi mutton Murgh:
- First pressure cook the mutton adding salt and ginger garlic paste let it cook till it’s tender like three whistles.
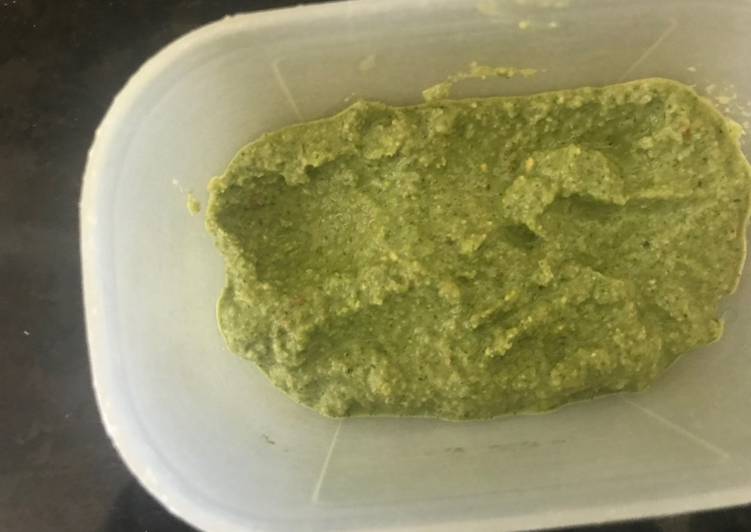
- Besides make fine paste of curd, green chillies, coriander, cashews.
- Take a dish add oil and fry one onion to slight golden colour then add in the cinnamon stick, cardamoms, black pepper and gradually add the paste we prepared.
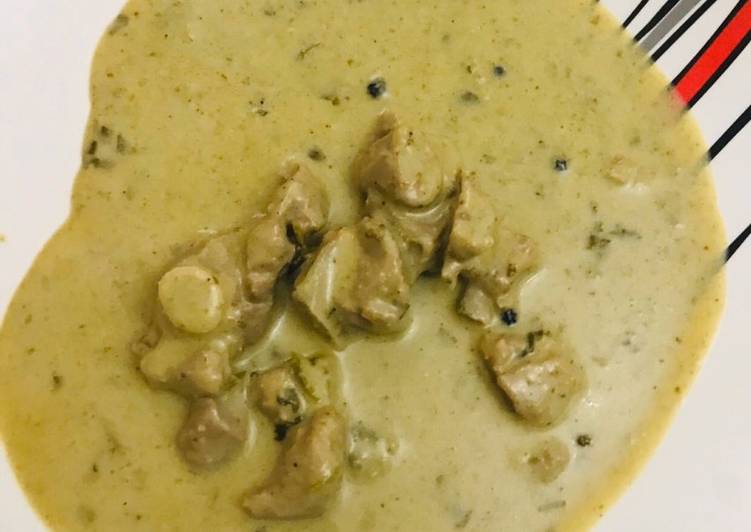
- Then fry it just for five minutes on low to medium flame one it starts getting little thick gravy add in all the soup into the mutton.
- Then give a nice boil then add in the lemon juice and ghee and let it simmer for five minutes more.
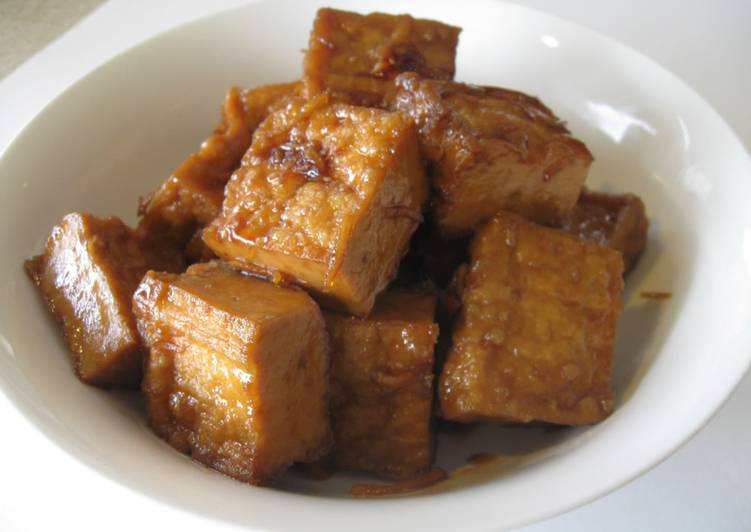
- Then serve it hot with any naan or chapati.
- Tip of the day: Lastly it’s your choice to make it thick or soup-like consistency if members or more you can add in half glass of water to the same gravy and add salt and pepper and if it’s for two to three members thick soup will do.
Hyderabadi Mutton Korma - Mutton Qorma and biryani are the most pupular and special dishes that must included in wedding or other special meal menu. This hyderabadi qorma recipe is included. Hyderabad is a city of authentic royal Nawabi cuisine. Mutton biryani is most popular dish of this cuisine. There is a way in which it has to be prepared and served to the family members or the guests.
As simple as that Recipe of Hyderabadi mutton Murgh
So that is going to wrap it up for this special food hyderabadi mutton murgh recipe. Thank you very much for reading. I am sure you can make this at home. There’s gonna be more interesting food in home recipes coming up. Don’t forget to bookmark this page on your browser, and share it to your loved ones, friends and colleague. Thanks again for reading. Go on get cooking!
Print this page